

Prevent blurry, underexposed nighttime photos. By knowing some simple photography tips and tricks, you can capture stunning, unforgettable pictures after dark.
omniworldwide.com gathered the following information, tips, and tricks to help you capture clear, sharp images at night.
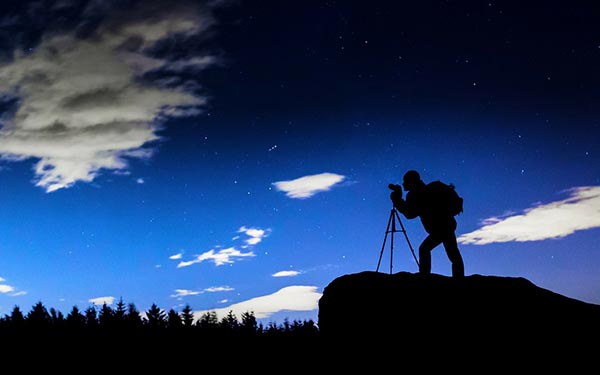
Nighttime Photography
When it comes to photography, many of the best photos can be and are taken at night. However, selecting the right location, keeping your camera still, and nailing the correct exposure takes a little patience and familiarity with your equipment. Consider the following tips:
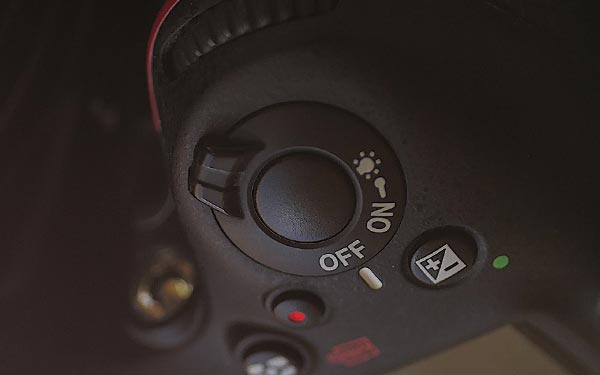
1. Adjust Your Camera to Manual Mode
While it may seem counterintuitive, night photography is much easier when your camera is set to manual. Consider this, when your camera is in automatic mode, it will continuously attempt to focus on specific points of light. Manual gives you total control.
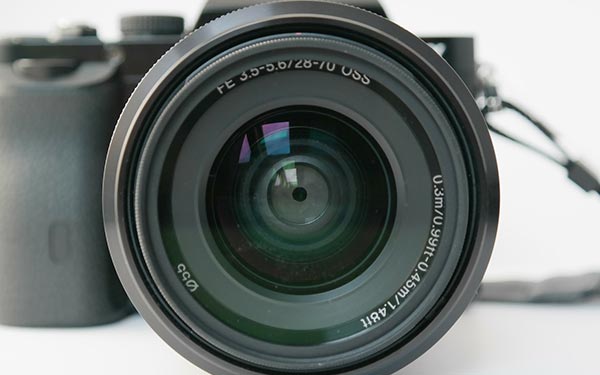
2. Adjust Camera Aperture
Aperture is defined as the opening in a camera lens that allows light to enter the camera. This setting is expressed in f-numbers like f/1.4, f/2.8, f/16, etc.
- Higher apertures like f/16 mean less light is entering the camera
- Lower apertures allow more light into the camera and are better for low light scenarios
Your camera’s aperture can be controlled either on the lens or on the camera. Test shots will help you determine the best setting.
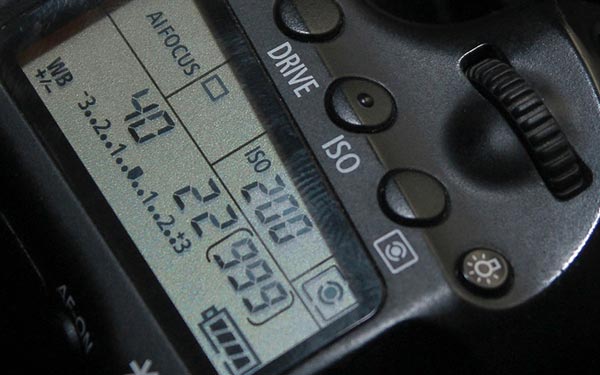
3. Adjust Camera ISO
In film and digital photography, ISO measures the sensitivity of the film or image sensor. ISO will be displayed on your film or camera as 100, 200, 400, etc.
- A 1600 or higher ISO is recommended for very low light circumstances
- An 800 ISO is recommended for indoor pictures with no flash
- A 400 ISO is recommended for pictures on cloudy days or with window lighting
- A lower ISO like 200 or 100 is best for pictures taken in bright, sunny locations
Raising the ISO on your camera is similar to brightening an image on your computer. The difference is raising the ISO on your camera almost always increases your image quality rather than just brightening it.
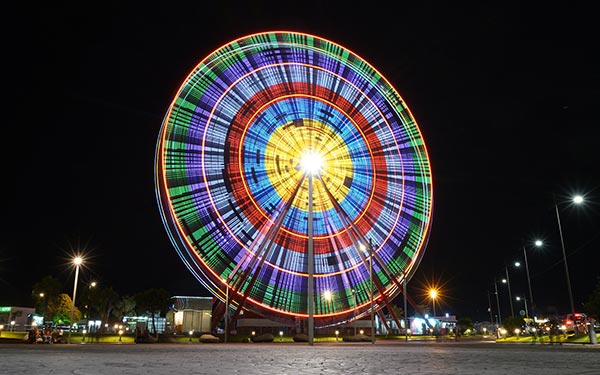
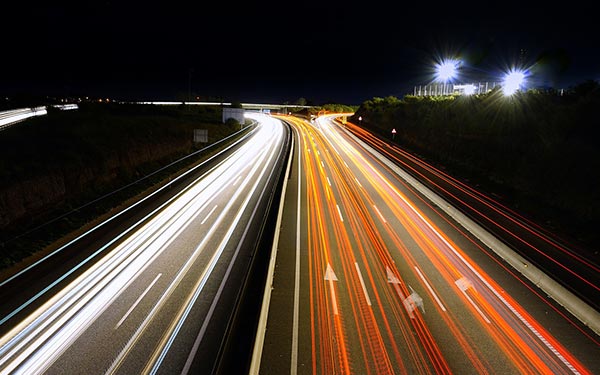
4. Adjust Camera Shutter Speed
The shutter speed represents the length of time your film or digital sensor will be exposed to light by the camera’s open shutter. This feature is measured in fractions of a second or seconds.
- A setting of 1/100 second or 1/320 second works well for most images taken under well-lit conditions
- The faster the shutter speed, the fewer problems you will have with blur and the effects of camera shake
- A setting of 15 seconds to 25 seconds or greater is recommended for nighttime landscapes, skylines, or sky (stars)
- The slower the shutter speed, the more light will reach your film or digital sensor
While ideal camera settings will change from picture to picture, ideal settings for night photography include; an open aperture (such as f/4 or higher), a high ISO (starting at 1600), and the longest possible shutter speed.
Note: Take several test shots at varied settings to determine the settings that accomplish your perception of perfection.
5. Stabilize Your Camera on A Tripod
No matter how steady your hand is, it’s unlikely that you can remain perfectly still for the time needed to capture nighttime images. To eliminate movements or vibration, mount your camera on a well-positioned tripod.
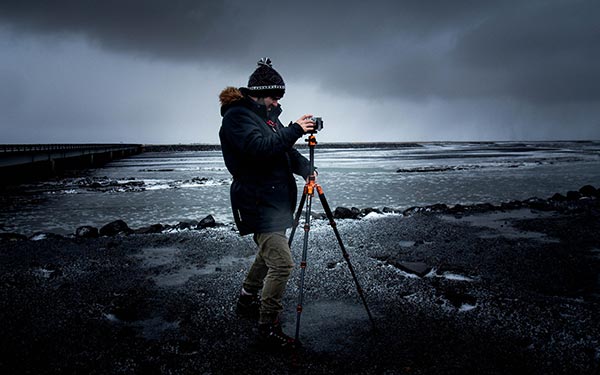
If you don’t have a tripod, scout your location during the day for a ledge or other flat surface where your camera can remain still.
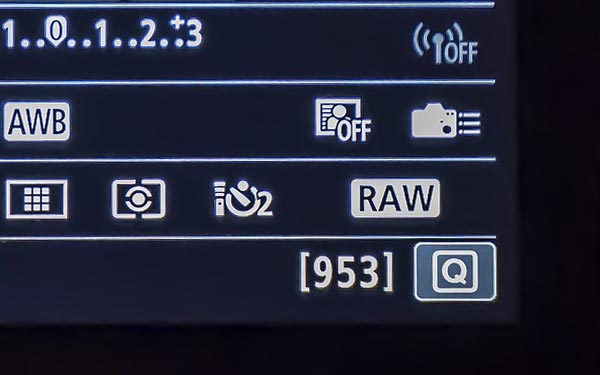
6. Should I Shoot Raw or JPEG?
In digital photography, your camera can do its own processing (sharpening, color correction, etc.) as it converts RAW information into a JPEG. When you shoot RAW, your image will be saved unprocessed.
In situations like weddings that require you to take a lot of pictures quickly, your camera will almost always perform more efficiently shooting JPEGs (raw exposures take longer to save).
For nighttime photography, RAW format is recommended, as it enables you to adjust the color and control over exposure and color balancing. This is possible because the image file is saved unprocessed and uncompressed.
7. Get to Know “Bulb Mode”
Most cameras in manual mode will only work for exposures up to 30 seconds (depending on the make and model of your camera). If what you are trying to capture needs a shutter speed longer than 30 seconds, switch to Bulb mode. For nighttime photos, you should generally shoot in manual mode but also be familiar with Bulb mode.
In Bulb mode, you can keep the shutter open as long as you hold down the shutter button.
- When you press the button, the shutter opens
- When you release the button, the shutter closes
You can avoid any shake or movement in the exposure, using a tripod and a remote shutter/cable release. While in Bulb mode, your exposure can last several minutes long. If your remote does not have a timer, use the timer on your phone, and make sure the remote has a locking feature to avoid having to hold it the entire time.
8. Do Bracket Exposures
This technique consists of taking a series of photographs at ascending or descending exposure settings. Each picture you take incrementally gets brighter or darker. Ideally, one of the bracketed photos will give you the exposure settings that you want.
When editing, bracket pictures allow you to produce High Dynamic Range (HDR) images by combining several images in your editing tool. Using this technique, you can recreate details and exposure that a regular camera cannot capture.
Photography at Night
In this article, you discovered pro tips to help you capture clear and sharp nighttime images without worrying about a blurry or overly dark result.
By getting to know the capability of your equipment and its settings, you can capture flawless images at any time, day or night.
Without knowing how to set and adjust your camera, you run the risk of taking blurry, undesirable pictures. Worse, you potentially lose opportunities to capture and record special moments.
Sources:
ipr.edu/blogs/digital-video-and-media-production/capturing-stunning-nighttime-photography/
nyip.edu/photo-articles/photography-tutorials/how-to-photograph-at-night
bellisario.psu.edu/photo/home.html
nyip.edu/photo-articles/photography-tutorials/how-to-take-great-photos-of-holiday-lights
Omni Worldwide – Atlanta Video Production Company
(678) 744-5960