

Avoid taking boring photos, or having to buy expensive equipment to enhance your photos. By knowing how to manipulate some everyday household items, you can turn your ordinary photos into stunning pieces of work.
omniworldwide.com gathered the following DIY photography hacks to help you elevate the creativity level of your photos and produce unforgettable images.
Imitation Raindrop Effect
It’s effortless to create the effect of a wet rainy window. Simply hang up a sheet of plexiglass, acrylic, or glass and mist it with a spray bottle. If the water drops fall or run off too quickly, spread a single layer of saran wrap over the glass and mist it.
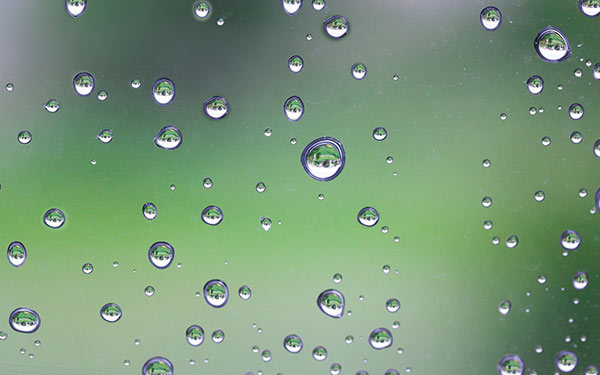
Make sure you wipe off a small area so your camera lens can see and focus on your subject.
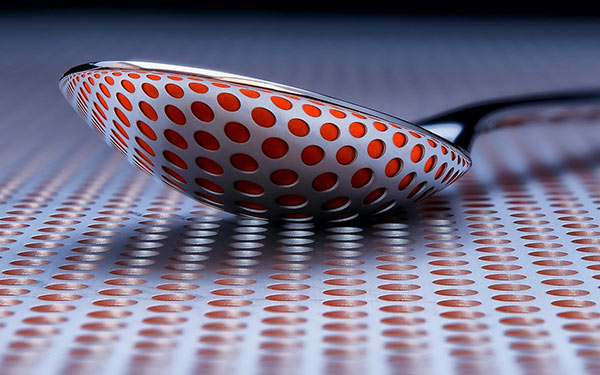
Colander Light Filter
There are many ways to professionally project light patterns onto your subject. In this case, the same colander you drain your pasta with can cast intricate patterns and shadows over your subject.
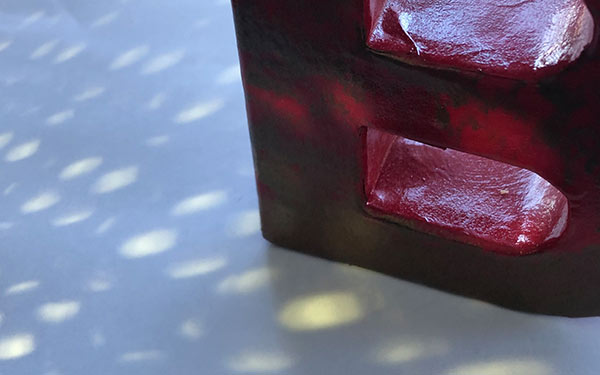
Just place the colander between your light source and your subject. Take practice shots using different angles and shadow placements until you reach your desired result.
Vintage-Style Photos (with vaseline)
Due to the quality of early camera equipment, pictures would often be distorted around the edges along with other effects like undesired shadows. This vintage look can be recreated by smearing a dab of vaseline around the edge of your camera lens.

Tip: Use an inexpensive, clear lens filter to avoid damaging your camera lens or camera phone.
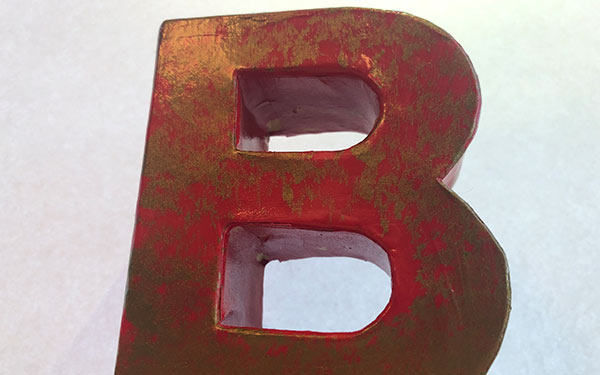
Create a Tinfoil Bokeh Wall
Bokeh or “Boke” is one of the more popular effects in photography. Bokeh makes photographs visually appealing, forcing the eye of the viewer to focus on a particular area of the image. The word is derived from the Japanese language, translated as “blur.”
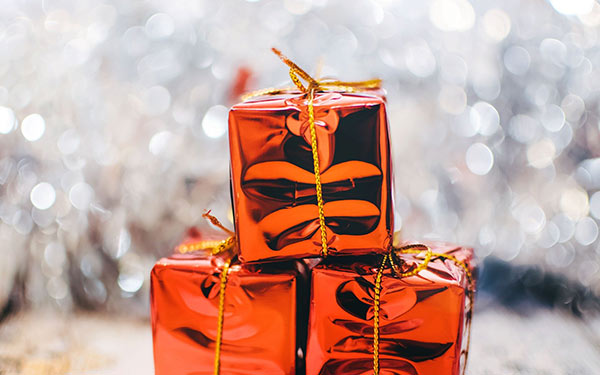
Tape crinkled up tinfoil to your backdrop, place your object in the foreground (using a reflective surface for your object will heighten the effect). Light your backdrop and object separately.
Take several test shots to adjust the position of your object and intensity of your lighting.
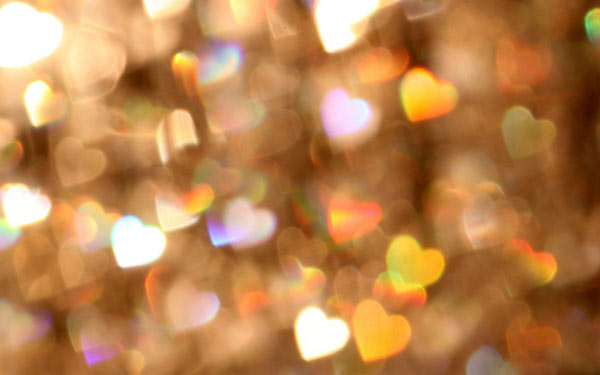
Cutouts for Different shaped Bokeh
You can manipulate light in a simple and effective way by cutting out shapes from rounded pieces of construction paper. Here’s how to do this:
- Cut the construction paper to the size of your lens.
- In the center of the paper, cut out a fun design.
- Place the paper over your lens (just as you would place a filter).
- Start taking pictures to see the results and adjust the size or shape of your designs.
Tip: Combine this effect with other lighting effects to amplify the creative possibilities.
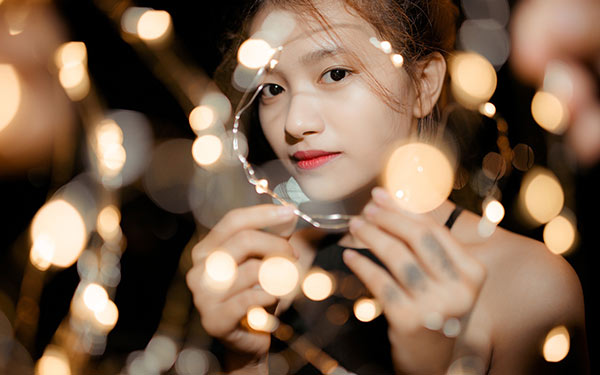
Fairy Lights for Depth
Fairy lights can add significant depth to your images. Normally, this type of lighting is used behind your subject. However, by using them in front of your subject (closer to the lens), you can add a stunning vibrance and depth to an otherwise cliche picture.
Sparkler Lighting
Like fairy lights, fireworks can add depth, color, and random patterns to your images. Since sparklers are an intense light source, they can help throw some attractive light on your subject.
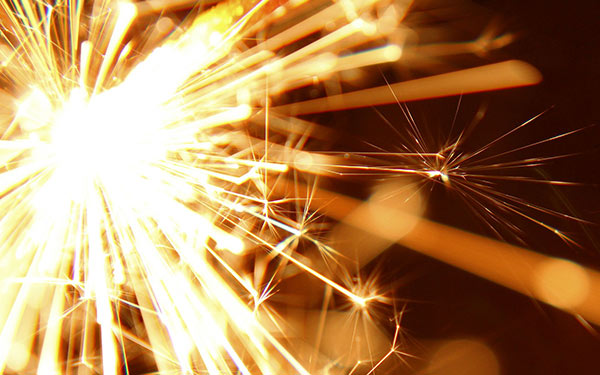
Fireworks like these require fire to function. Be sure to follow proper safety measures for their use and disposal.
Use Trees or Bushes in Your Background
Tree and bush foliage surrounding your subject can provide a beautiful backdrop without distracting from your subject’s features. You can find trees and bushes all over, with different shapes and sizes of foliage.
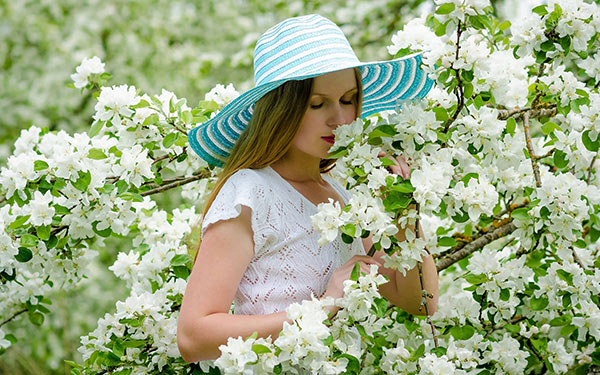
Move your subject slightly into the leaves, so you have foliage in front of and behind your subject for depth.
Make a Lightbox Using a Window and Paper
This is a fantastic way to photograph flowers but can be applied to all sorts of items found in your home. You will need the following:
- Window
- Paper (greaseproof or parchment)
- Tape
- Tripod
Tape the paper to the window and place your object on the window sill, a stand, or a platform in front of the paper.
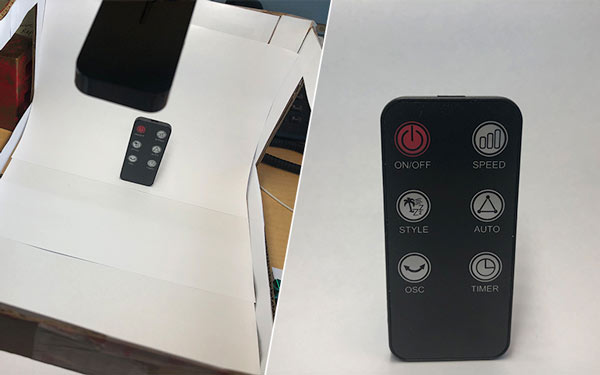
Tip: Minimize or eliminate vibrations by turning off your air conditioner or closing nearby vents and use a timer or remote release to prevent camera shake.
Note: If you are using a camera, switch it to “AV” mode, set your ISO to 100, and set your aperture to f/8. Take practice shots and slowly adjust your exposure compensation until you reach your desired outcome.
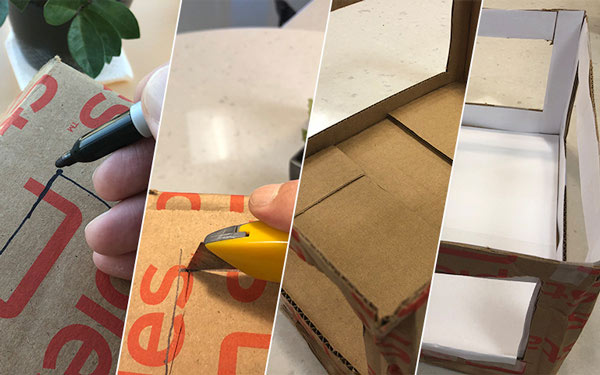
Make an Inexpensive Light Tent
You can purchase a “pop-up” light tent and spend anywhere from $40 to $100, or you can construct one for next to nothing. Here are the materials you’ll need:
- A Box (any size will do, as long as there is room to light it and shoot your subject)
- White Fabric (you will need enough to cover the entire box)
- Masking Tape (to secure the fabric to the box)
- Glue (to secure the lining in the box)
- White Bristol Board (used to line the inside of the box and the back round)
- Lights (regular bulbs cast a yellow light, use full-spectrum lights and maneuverable fixtures)
- Tape Measure
- Scissors
- Marker
Note: Make sure all of your fabric is the same shade of white. Different shades may result in an undesired outcome.
Here are the steps to build your light tent:
- Excluding the top and bottom, draw a square (or rectangle) on all four sides of the box, leaving a 2” border around all sides of each square or rectangle.
- Cut out the four squares or rectangles you’ve drawn. Then cut the flaps off the top of the box, leaving the bottom intact.
- Cut your Bristol board in 2” strips (you’ll need 16 strips).
- Glue the strips inside the box (marked side against the cardboard).
- Cut one piece of Bristol board to the width of the box and much taller than the box.
- Put the long piece of Bristol board in the box so it forms a seamless background (do not crease the paper, it will show up in your images) and cut the excess from the top.
- Cut the fabric large enough to cover the sides and top of your box.
- Tape the fabric over the holes (except the hole facing your background).
- Light the top of the box, and you’re ready to go.
There are many setup variations, including using multiple light sources from different sides and using different color backdrops. Take test shots, adjusting your settings and lighting until you reach your desired results.
Make a DIY Photography Reflector Board
Reflector boards or bounce cards are flat pieces of material with a reflective surface that you can move independently from your lighting. Here’s how to make a reflector board:
- Determine how large you want your reflector board to be.
- Cut out or adjoin your material (cardboard works well).
- Glue, tape, or staple one or two makeshift handles to the backside.
- Tape or glue aluminum foil to the front (shiny side out).
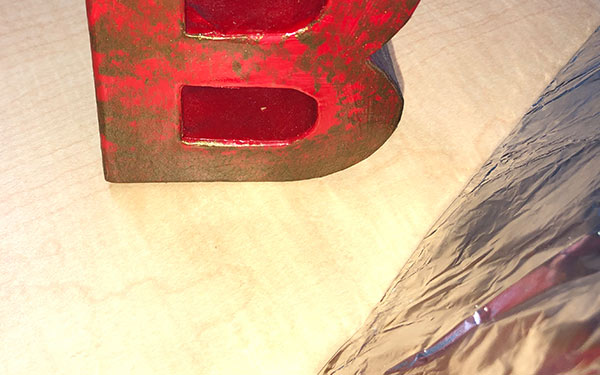
The larger your reflector board, the more light you can cast on your subject. You can also use multiple boards to cast light in different directions.
Photography Hacks
In this article, you discovered several DIY photography hacks that help you add classy effects to otherwise ordinary images.
Knowing how to identify everyday objects as potential enhancements to your photographs, you can avoid spending top dollar on equipment and effects, that you can create on your own.
When you avoid experimenting with new methods or seemingly absurd concepts, you leave yourself bound to the same unimaginative results time and time again.
Sources:
computerscience.johncabot.edu/kduong/F2018CS130-1/grifaldi/final%20project/hacks.html
howto.academyart.edu/photograph-artwork/lighting-demonstrations/diy-tabletop-lightbox
nyfa.edu/student-resources/capturing-the-bokeh-effect/
Omni Worldwide – Atlanta Video Production Company
(678) 744-5960